
A repeat-pattern backdrop should be judged from the distance at which photographs will be taken, rather than solely as a flat design on a monitor. Adobe explains that viewing distance affects how much detail people perceive in large-format graphics, which makes a full-size or scaled distance test an essential first step.
Event planners commissioning Step and Repeat printing NYC should therefore evaluate the pattern as part of a photographic scene. A layout that appears balanced on a laptop may look crowded behind two people, while generous spacing on screen may leave a photograph with too few complete marks.
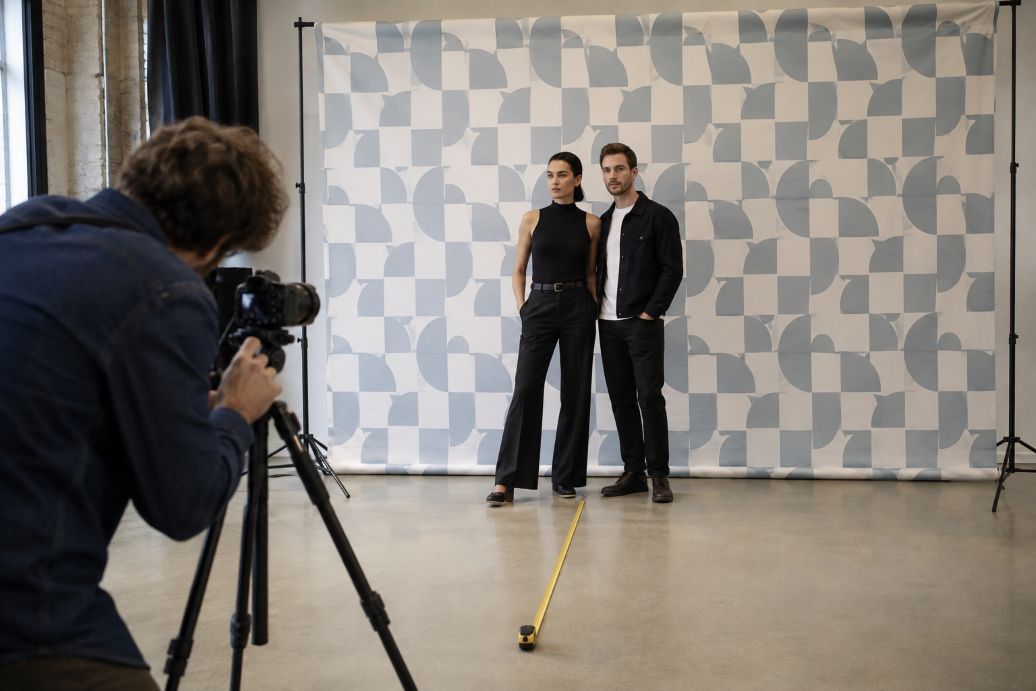
Step 1: Establish the Real Shooting Area
Begin with the finished backdrop dimensions and the area that will usually appear inside the camera frame. Measure the expected distance between the photographer, subjects, and background. Include the space needed for lighting stands, a queue, and people entering or leaving the set.
The lens matters because focal length determines angle of view, as explained by Canon Europe. A wider lens captures more of the surroundings, while a longer lens records a narrower section from a suitable position. Testing with the photographer’s likely camera and lens is more dependable than assuming the entire backdrop will appear in every photograph.
Step 2: Define the Useful Photo Zone
Mark the section behind a typical subject group. For individual portraits, this zone may be relatively narrow. Photographs of couples, award recipients, or larger groups require more horizontal coverage.
Place temporary outlines representing people over the design mockup. Check whether recognizable graphics remain visible beside heads, above shoulders, and between subjects. Avoid relying on a single logo centered at face height because it may disappear repeatedly behind guests.
Step 3: Build a Controllable Repeat Tile
Create the repeat as a tile whose width and height can be adjusted independently. Adobe Illustrator provides controls for tile dimensions, horizontal spacing, vertical spacing, overlap, and rotation. These settings allow designers to change the surrounding space without distorting the original artwork.
Start with a simple grid or staggered arrangement. A staggered pattern can distribute marks more evenly when people block one row. However, the offset must remain consistent across the full background. Inspect the edges of every tile for accidental gaps, overlaps, or abrupt visual lines.
Step 4: Test Several Spacing Options
Prepare at least three versions: compact, moderate, and open. Keep the artwork at the same size so spacing is the only changing variable. This makes the comparison easier for designers, photographers, and event organizers.
- Check how many complete marks remain visible around one person.
- Repeat the test with two people and a small group.
- Review standing and seated compositions if both are planned.
- Inspect wide, vertical, and tightly cropped photographs.
- Confirm that no row creates a distracting line through faces.
Print a reduced physical mockup or display the design at a measured scale. Then view it from the corresponding photo distance. Screen zoom percentages vary by device, so a clearly measured test provides a more useful reference than an arbitrary on-screen size.
Step 5: Recreate Event Lighting
Lighting can change contrast and color appearance. Pantone notes that colors may look different under daylight, retail lighting, and domestic illumination. A material sample should therefore be examined under lighting similar to the planned venue setup.
Photograph the sample with direct and angled light. Look for glare, washed-out pale graphics, or dark areas losing separation from the background. Extended setup and testing sessions can also be physically demanding, so practical guidance on photographers’ health during long shoots may help professionals consider recovery and general wellness alongside their technical preparations. If reflections interfere with legibility, the production team may need to reconsider the surface finish, light position, or contrast between elements.
Step 6: Approve the Actual Production File
Before printing, confirm the final dimensions, scale, color mode, image resolution, and accepted file format with the producer. Vector artwork generally allows identity marks to be enlarged without the pixelation associated with insufficient raster resolution. Any embedded photographs should be checked at their effective output size.
Request guidance on bleed, seams, pole pockets, hems, and grommets because these features can reduce or alter the visible area. Adobe distinguishes trim, bleed, and artwork boundaries in print-ready files, showing why important pattern elements should remain away from finishing zones.
Step 7: Review NYC Installation Details
Ask the venue about rigging limits, available floor space, access times, and material requirements before approving production. The New York City Fire Department identifies flame-resistant decorations as relevant in specified occupancies, while exits must remain unobstructed and accessible in places of assembly. Requirements depend on the venue and event, so organizers should confirm the applicable rules directly.
Design for the Photograph, Not the Template
Successful repeat spacing is determined by what survives inside real photographs. Measuring the shooting area, simulating people, comparing several layouts, and testing under event lighting reveal problems that a flat proof can hide. Once the spacing works at camera distance, careful file preparation and venue coordination can carry that visual rhythm reliably into the finished backdrop.


